Codeaid assessment tests provide hiring teams with a better understanding of how well a candidate is likely to perform in a given role. By integrating assessments directly into the candidate journey through Greenhouse, you can streamline and reduce the effort involved in the hiring process. Initiate assessments within Greenhouse, and conveniently receive scores and view detailed assessment reports directly on the candidate's profile.
Retrieve API Key from Codeaid
- 1
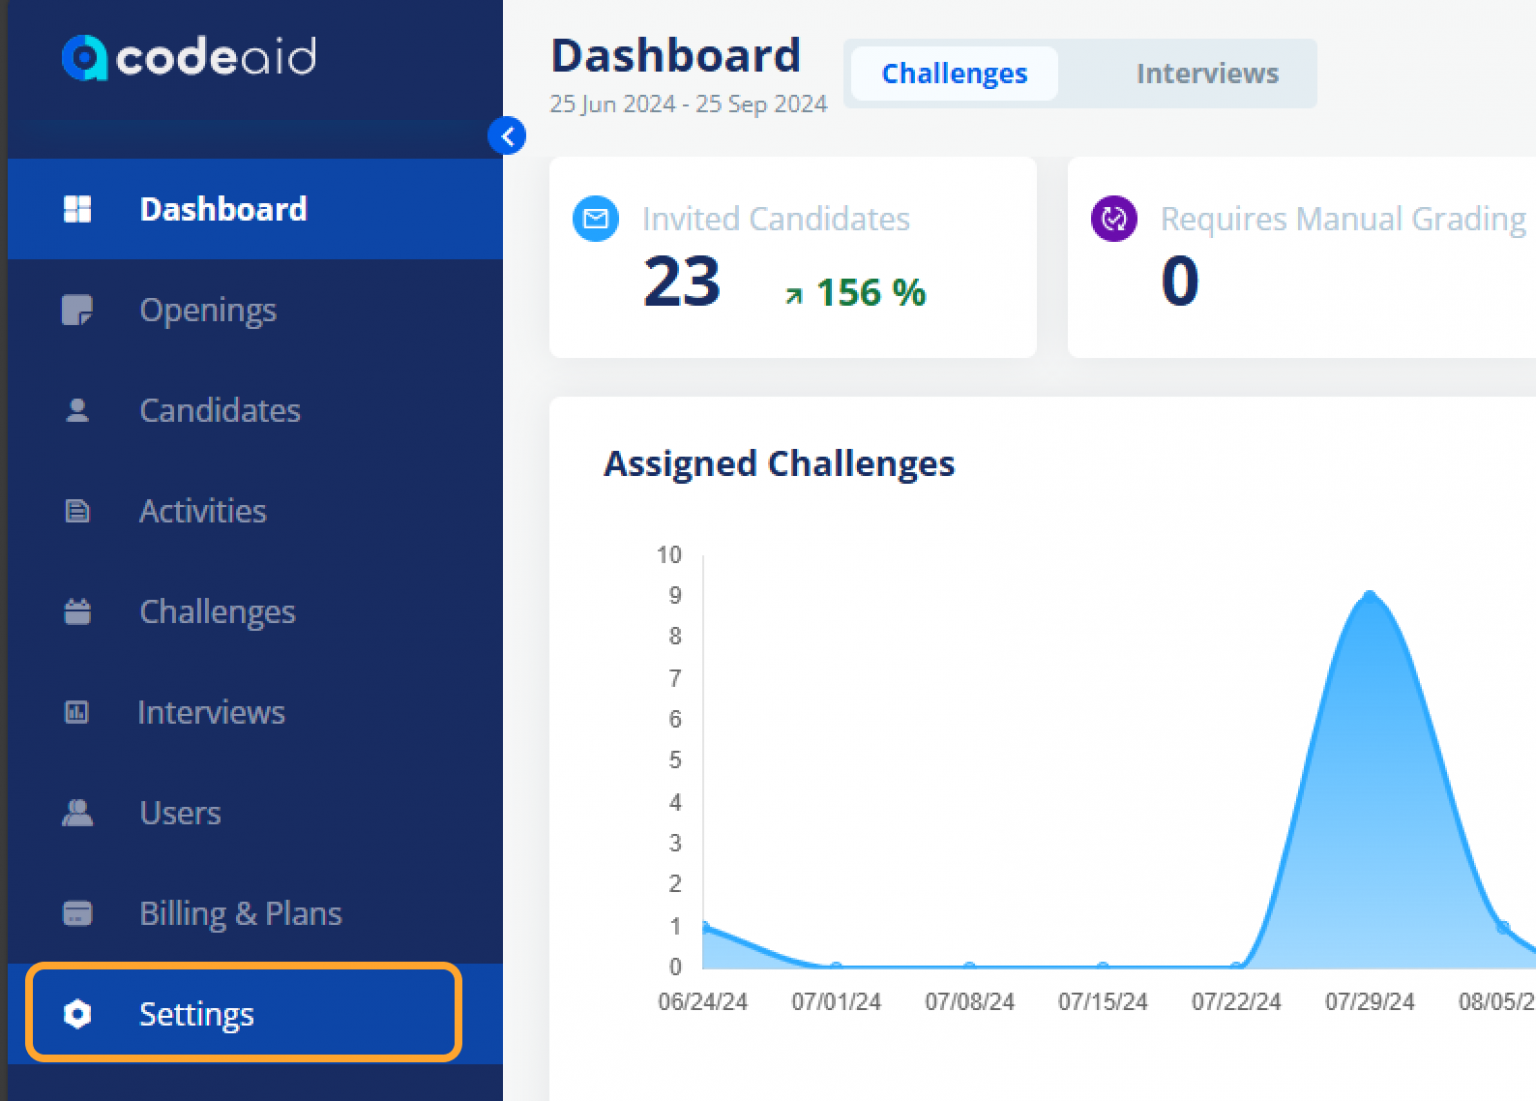
Log in to your Codeaid account as an Owner/Admin.
- 2
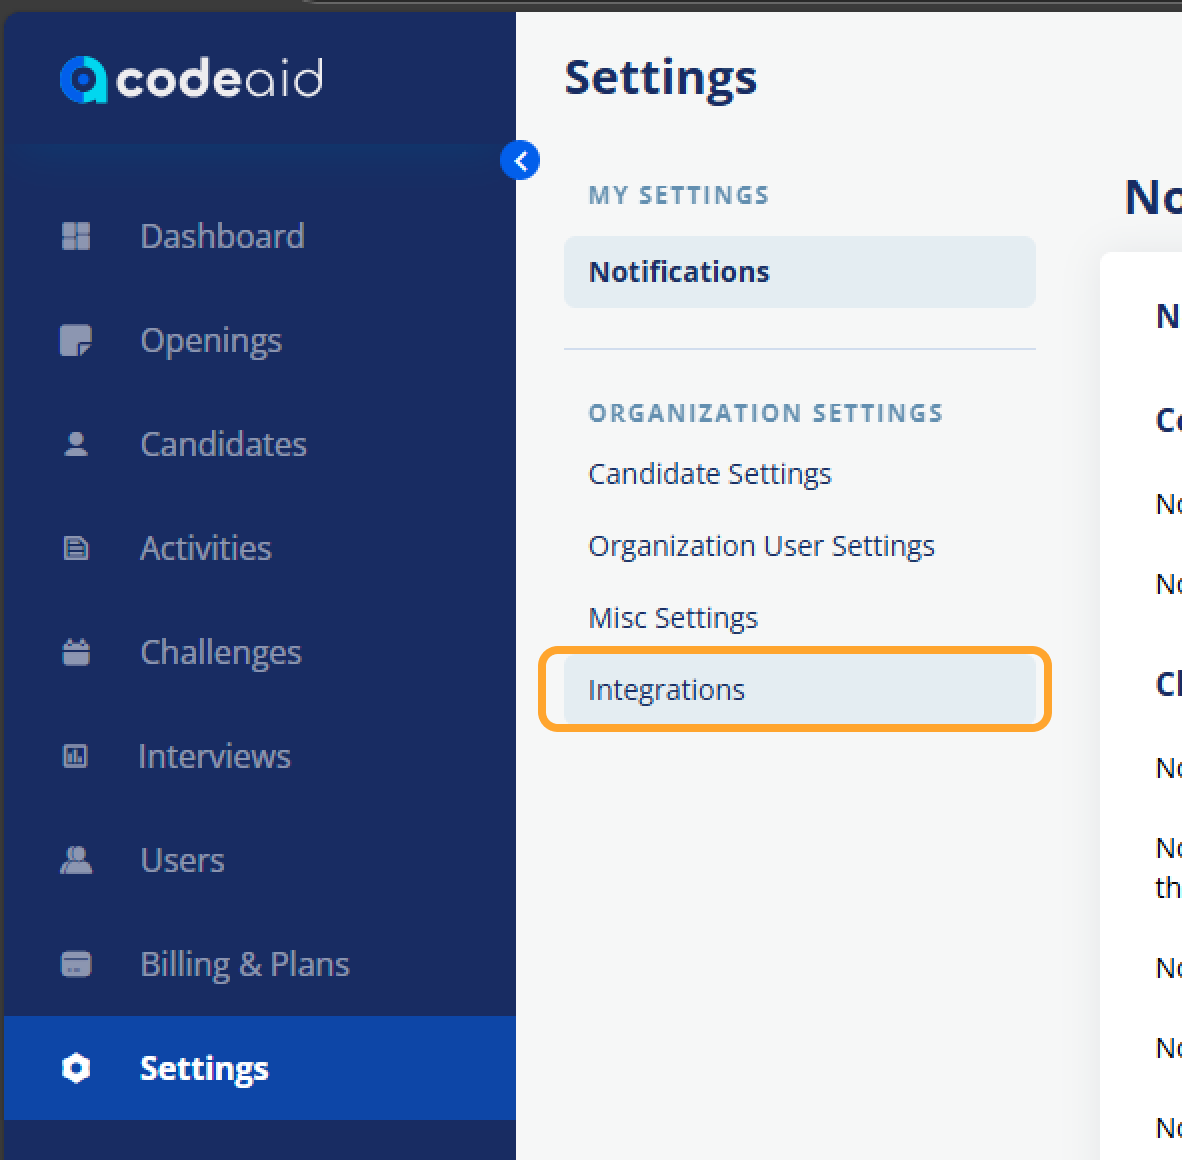
From the sidebar, open the Settings page.
- 3
Click on the Integrations tab.
- 4
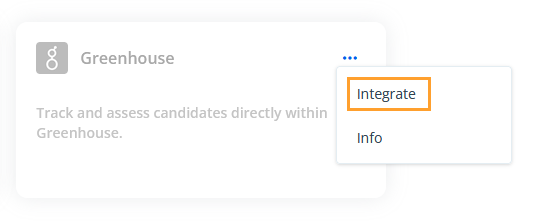
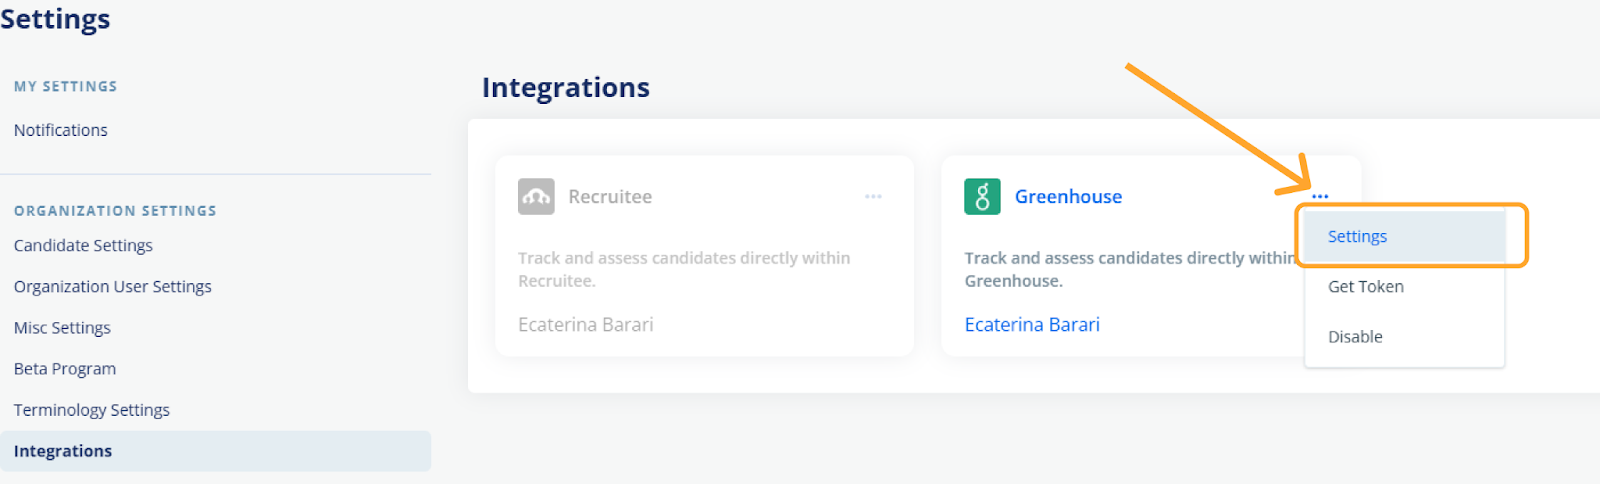
Locate the Greenhouse integration card and click the three dots.

- 5
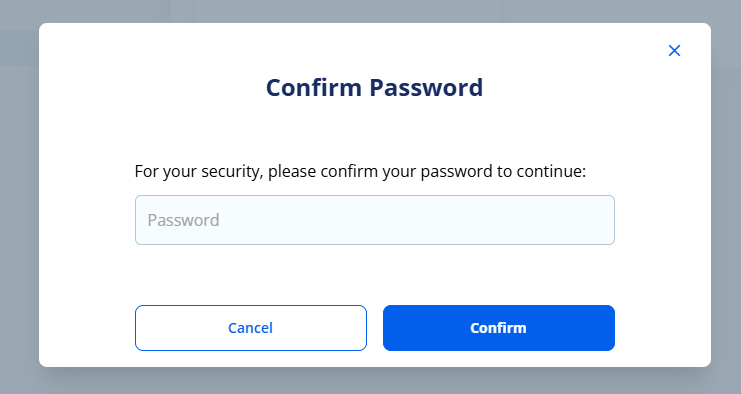
Click Integrate. Codeaid will prompt you to confirm your password for security reasons.
- 6
Enter your account password and click Confirm.
- 7
A confirmation pop-up will appear. Click Yes to continue.
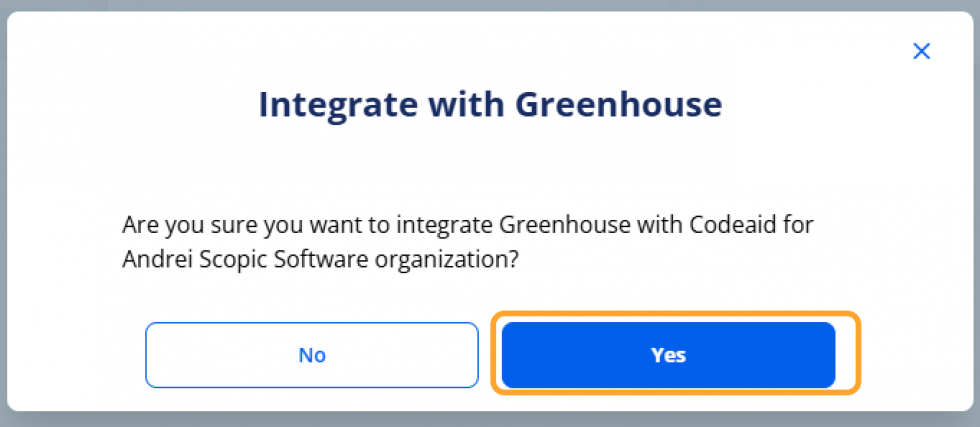
- 8
You will then be provided with a newly created API key.
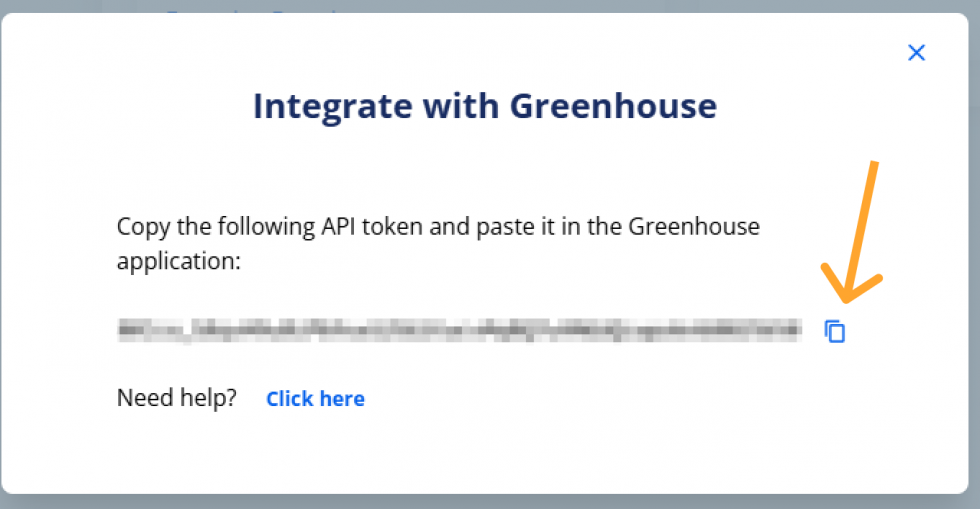
- 9
Copy the API key by clicking the copy icon or manually selecting the highlighted key.
Note: If you accidentally close the pop-up, don't worry — you can reopen it by clicking Integrate again.
Integrate Codeaid with Your Greenhouse Account
- 1
Once you have copied your API key, open a ticket with Greenhouse Support.
- 2
Wait for a confirmation email from Greenhouse Support. You may be required to verify your account before you can proceed.
- 3
If they need your API key, Greenhouse Support will provide a SendSafely link where you can enter your API key.
- 4
Once Greenhouse Support has been notified, they will send a confirmation email.
Note: Don't send your API key in the initial ticket. Greenhouse Support will respond with a SendSafely link for you to securely share the API key. After adding your API key in Greenhouse, the Codeaid integration won't activate automatically — you'll need to invite a candidate from Greenhouse into the Codeaid stage to finish setup.
Enable Harvest API — Create a Harvest API Key (Optional)
- 1
Follow Greenhouse's guide to create a Harvest API key with the following settings:
- 2
API Type: Harvest | Partner: Codeaid or Unlisted Vendor | Description: Codeaid Harvest API Key
- 3
Verify that the following permissions are selected: Activity Feed (Get), Applications (Get), Candidates (Patch, Post), Custom Fields (Get, Post), Users (Get).
Enable Harvest API — Retrieve User ID (Optional)
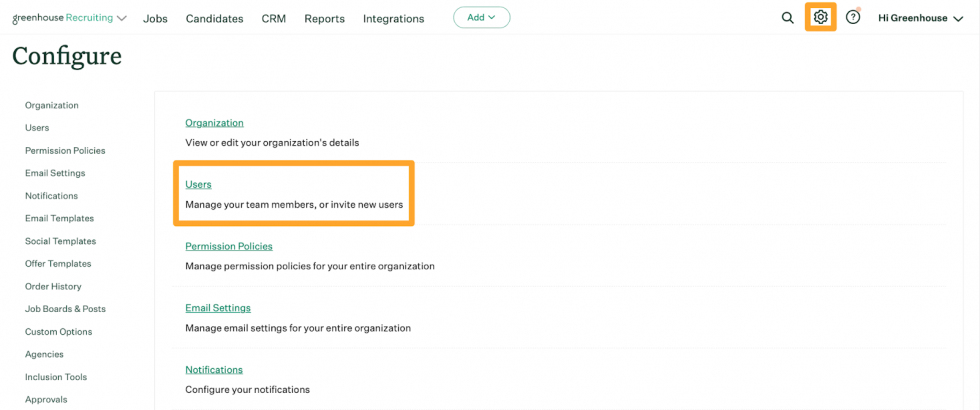
- 1
Click the Configure icon on your navigation bar and then click Users on the left.
- 2
Click Export to Excel.

- 3
A spreadsheet will be downloaded to your computer. Open the Excel file and locate the user ID in the User ID column.

Enable Harvest API on Codeaid (Optional)
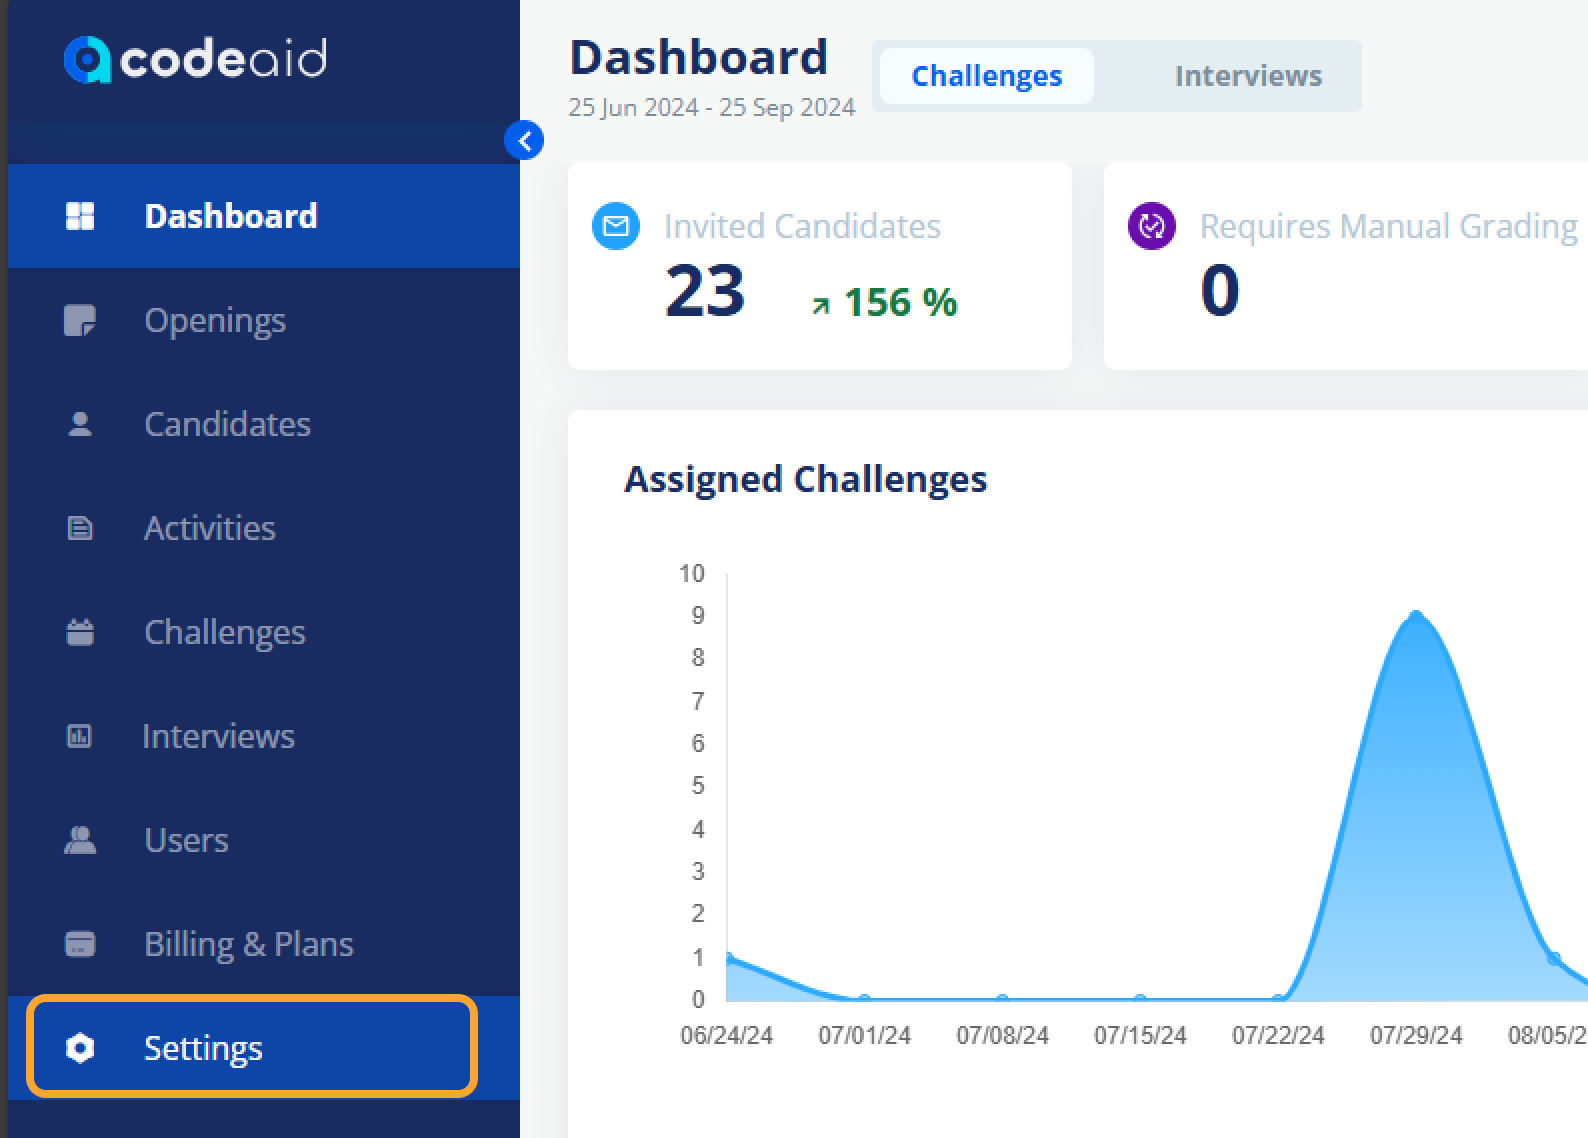
- 1
From the sidebar, open the Settings page.
- 2
Click on the Integrations tab.
- 3
Locate the Greenhouse integration card and click the three dots, then click Settings.
- 4
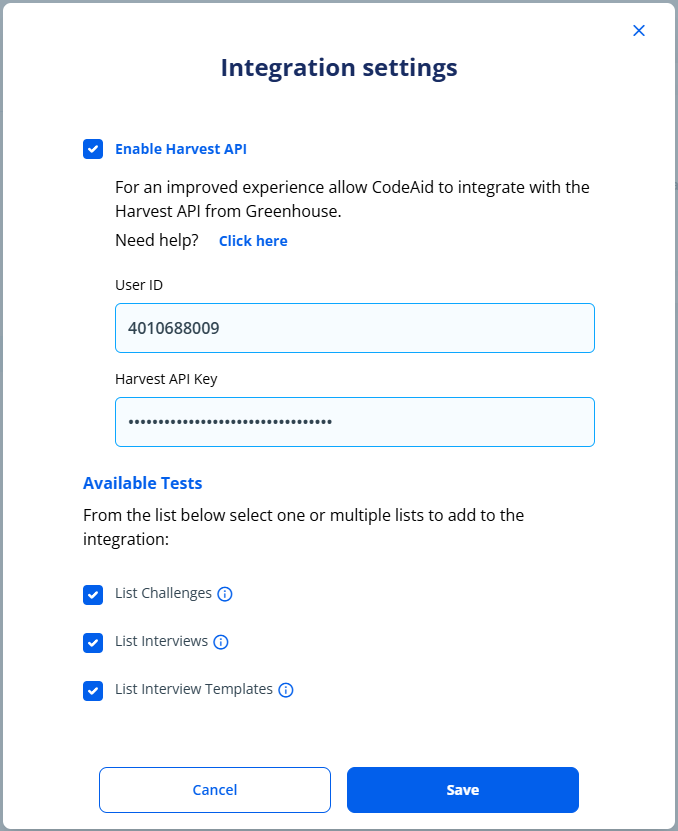
A popup will appear. Select the Enable Harvest API checkbox.
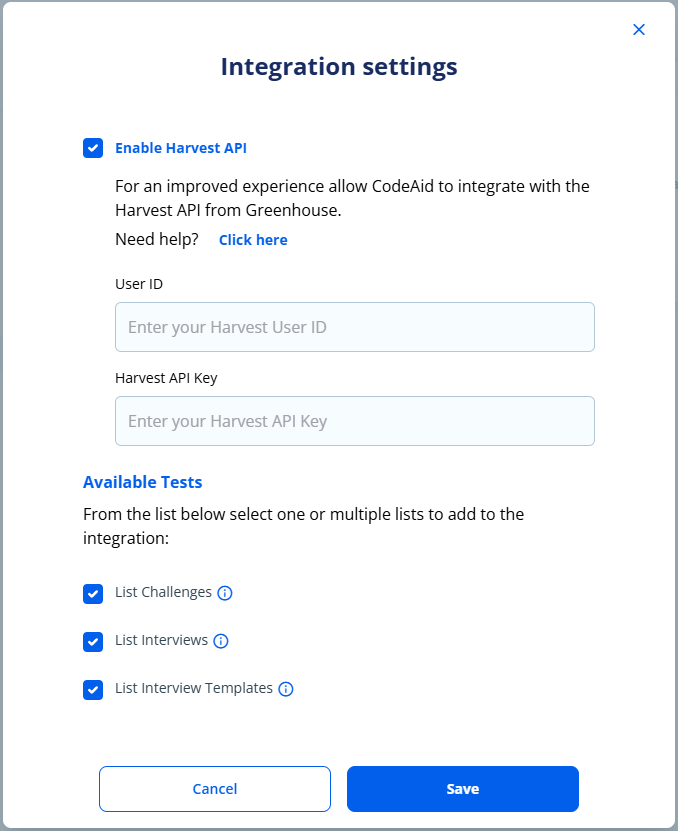
- 5
Paste the User ID and API key collected from previous steps and click Save.
- 6
Wait for at least 2 minutes for the settings to be applied.
- 7
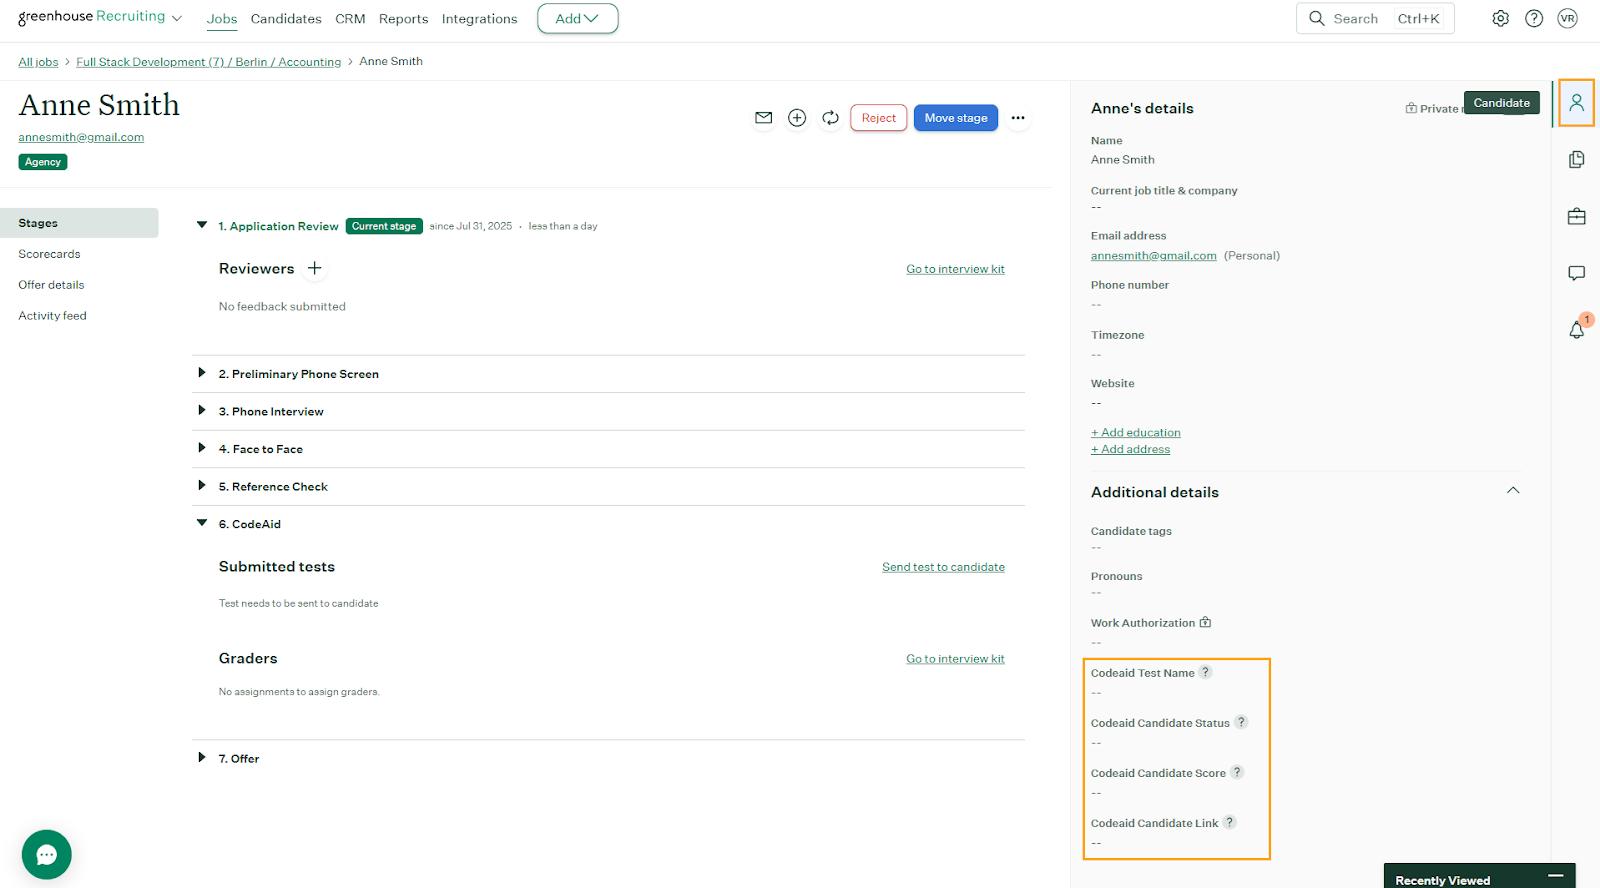
To confirm, open any candidate in Greenhouse and check the 'Additional details' section for new custom fields created by Codeaid.
Using the Integration with Greenhouse Recruiting
- 1
Once the Codeaid integration is enabled, you will be able to add the Codeaid assessment as an interview stage.
- 2
Send an assessment to a candidate by selecting the Send Test button next to the interview stage.
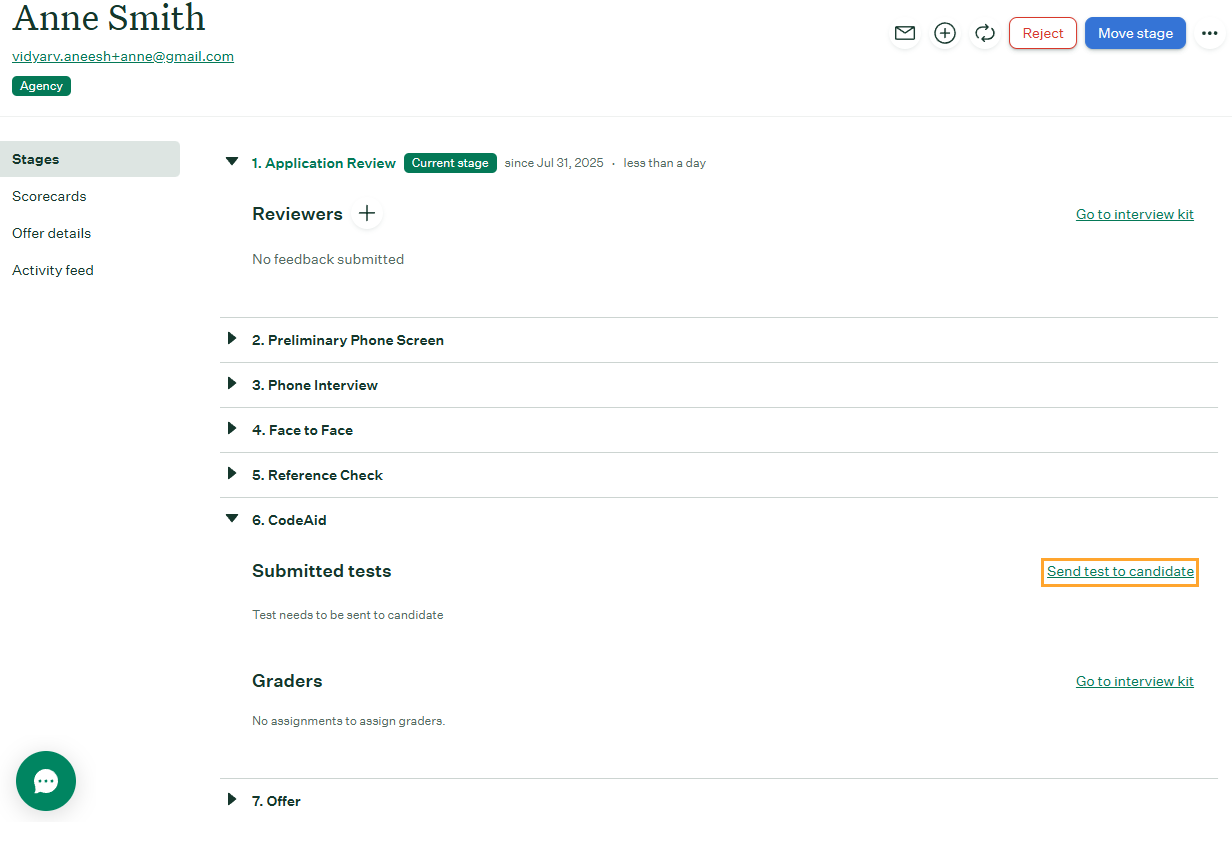
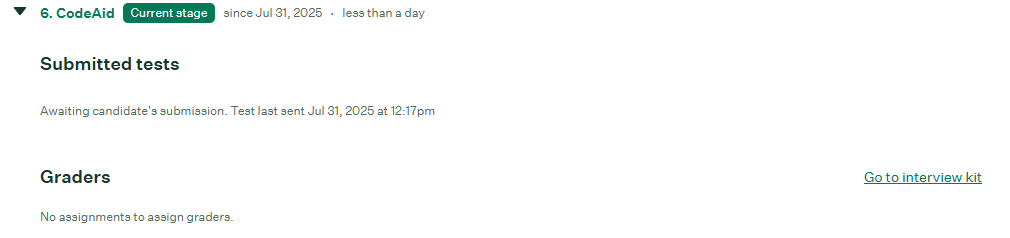
- 3
After it has been sent, the assessment's status will appear in Greenhouse Recruiting.
- 4
If you have enabled Harvest integration, Codeaid custom fields will be populated with candidate details.

- 5
Once the candidate has submitted their test, the Interview Kit will contain a link to view the submitted test in Codeaid.
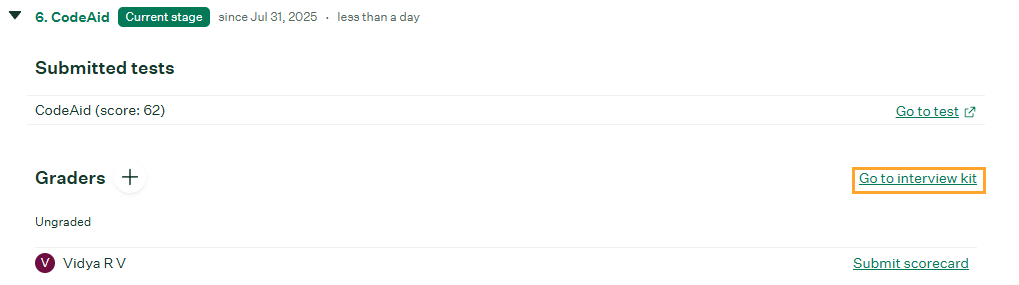
- 6
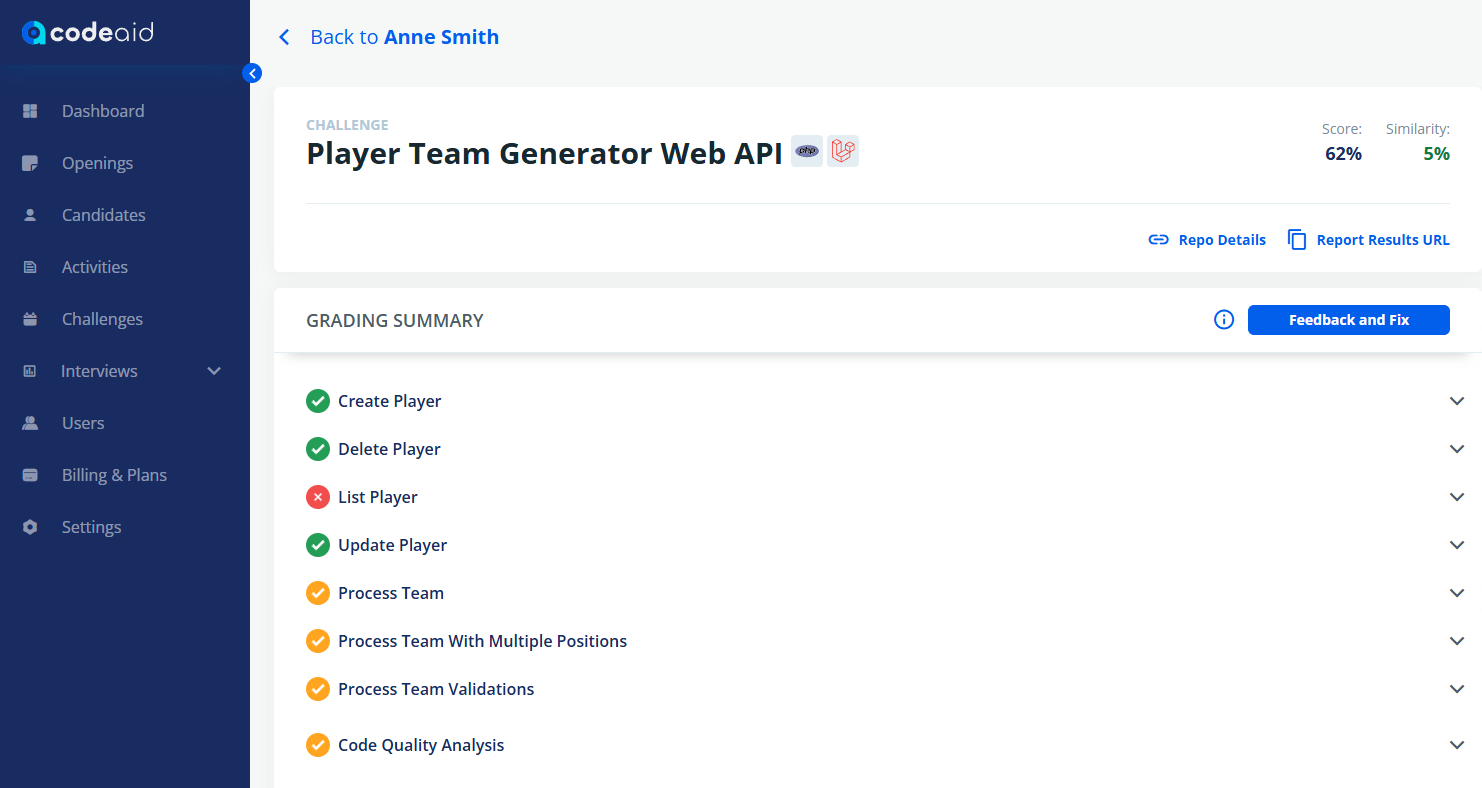
To see a candidate's results, click View Report. This will open the candidate URL in Codeaid.
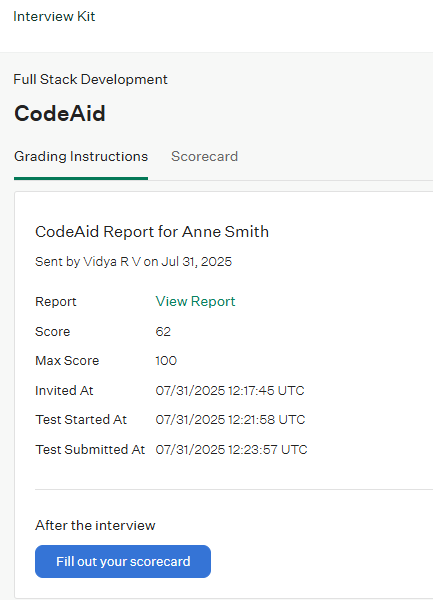
- 7
Click 'View Report' to see the grading criteria.
- 8
If Harvest integration is enabled, you can track candidate progress by clicking on Activity Feed in Greenhouse.
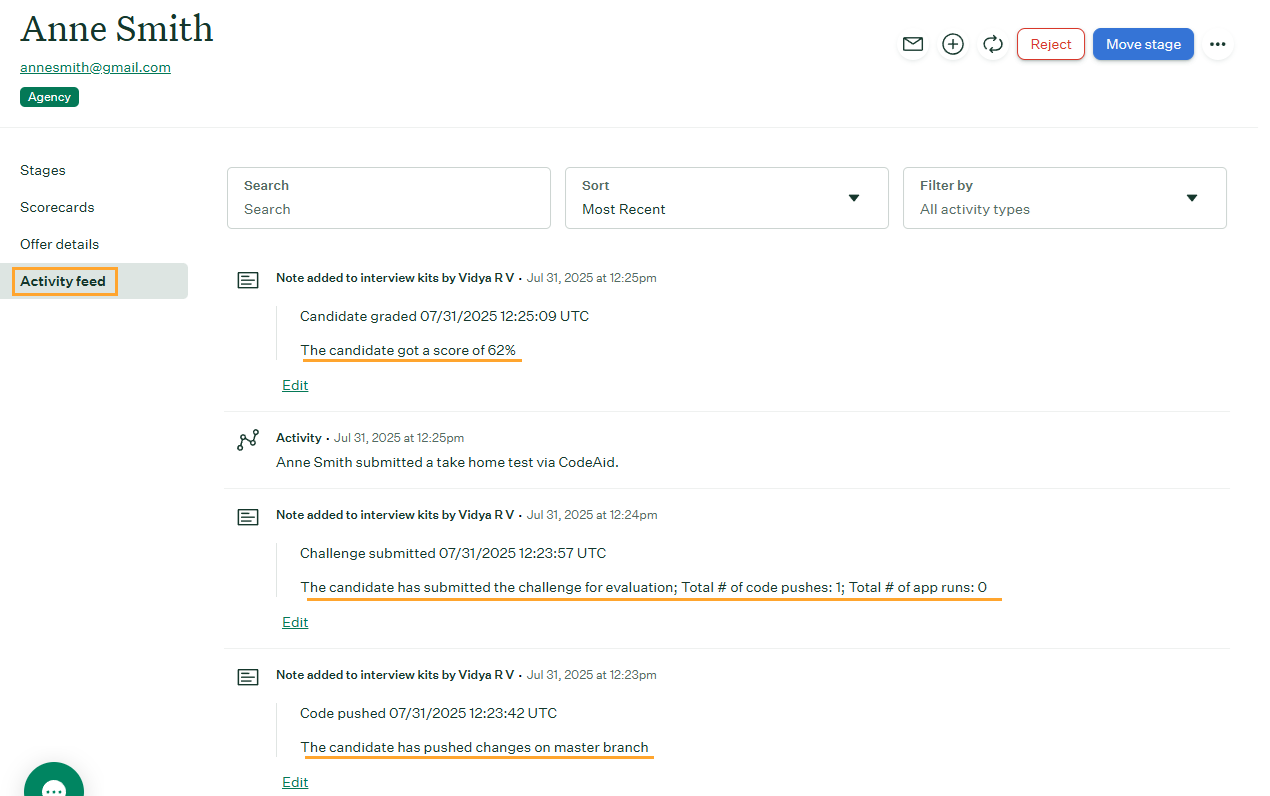
Note: Custom fields and activity feed will display values only if the Harvest API is enabled. If Harvest API is disabled, the custom field will be blank and activity feed will be missing many events.
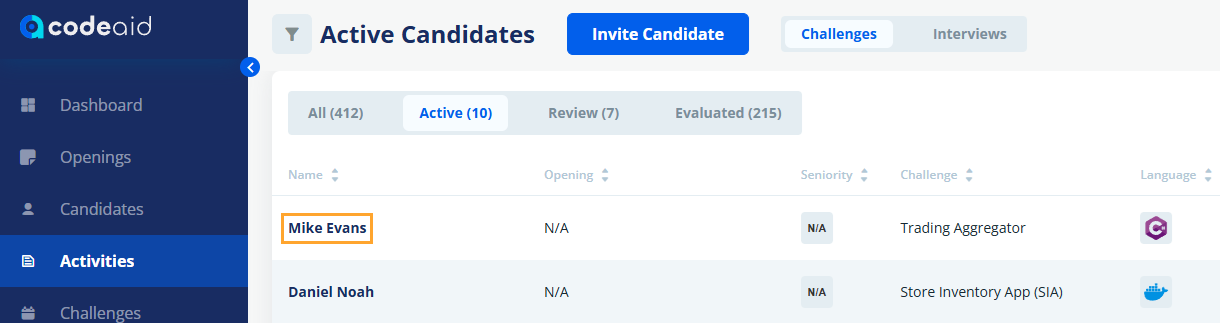
Linking Candidates — Case 1: Candidate Not Yet in Codeaid
- 1
Log in to your Greenhouse account.

- 2
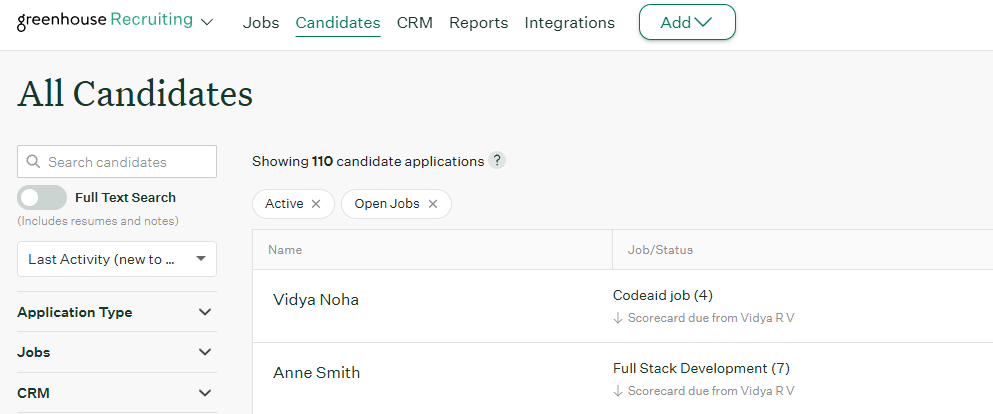
Open the Candidates page from the navigation bar.

- 3
Select an existing candidate or add a new one.
- 4
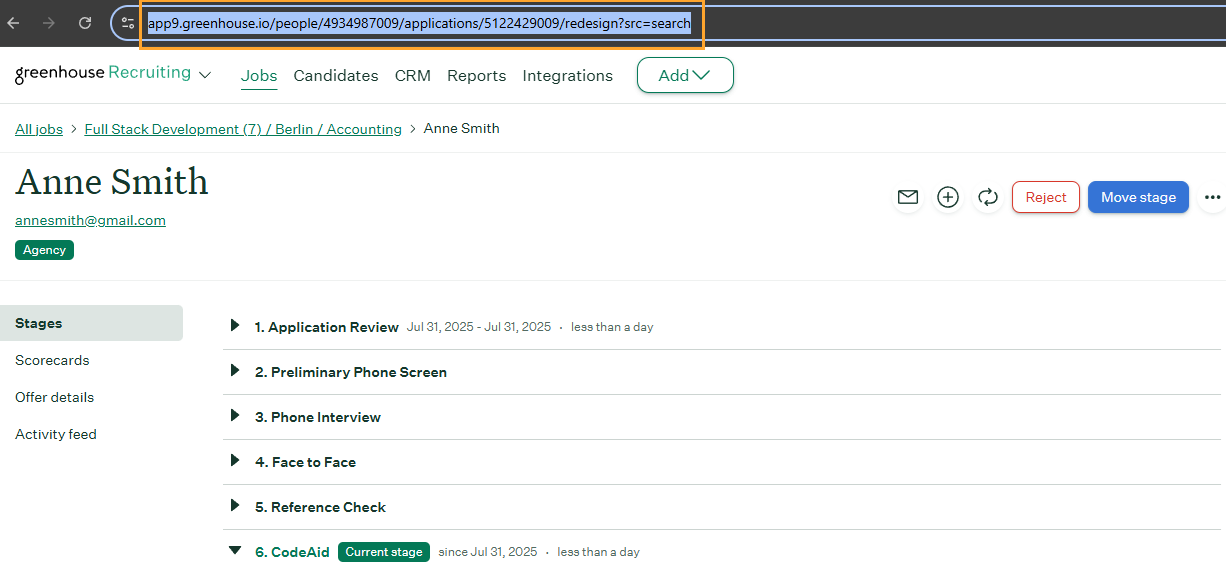
Copy the URL on the address bar.
- 5
Log in to your Codeaid account.
- 6
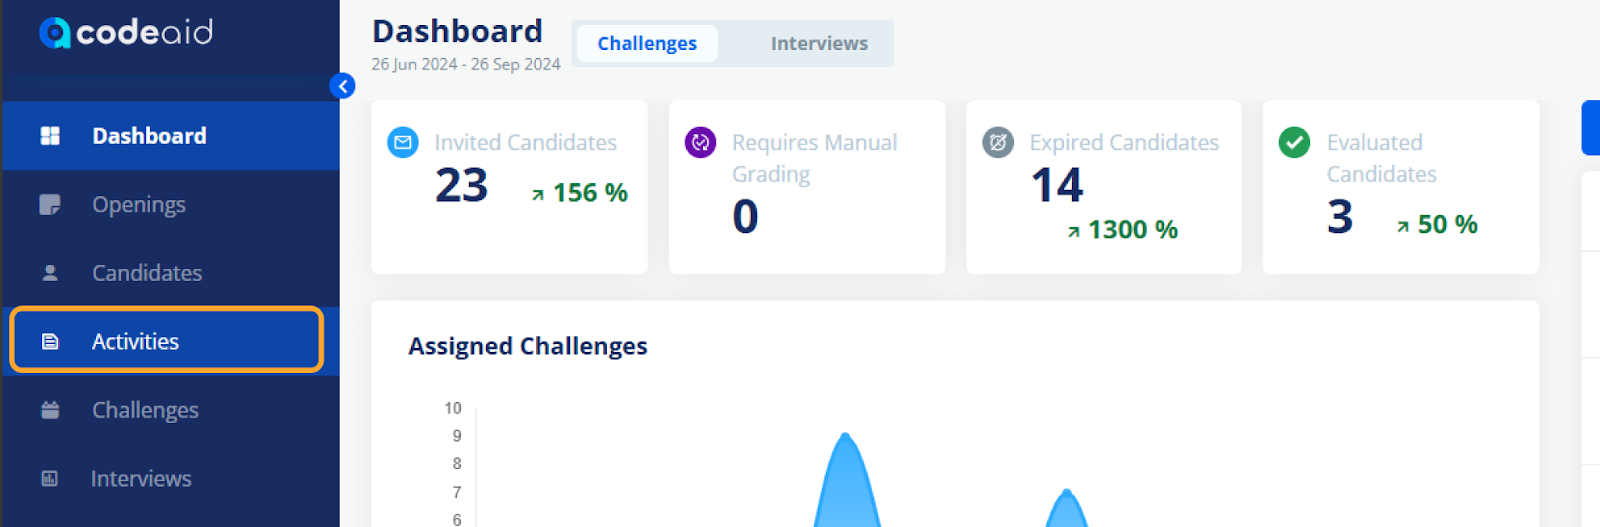
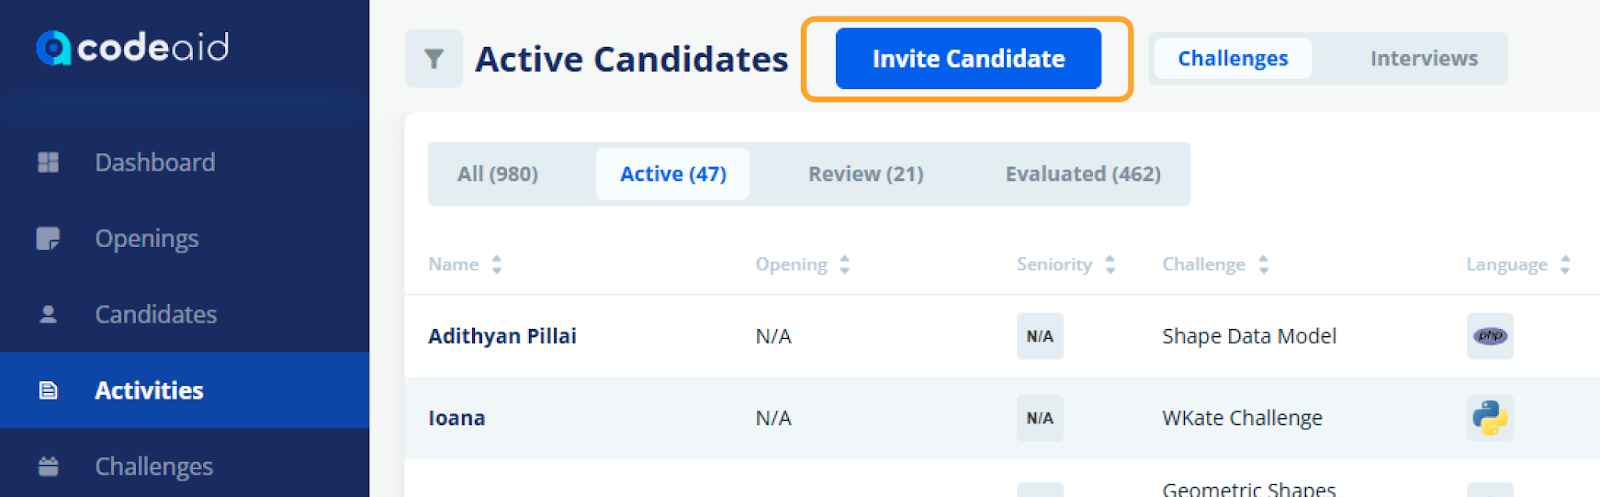
From the sidebar, click Activities.
- 7
Select Invite Candidate.
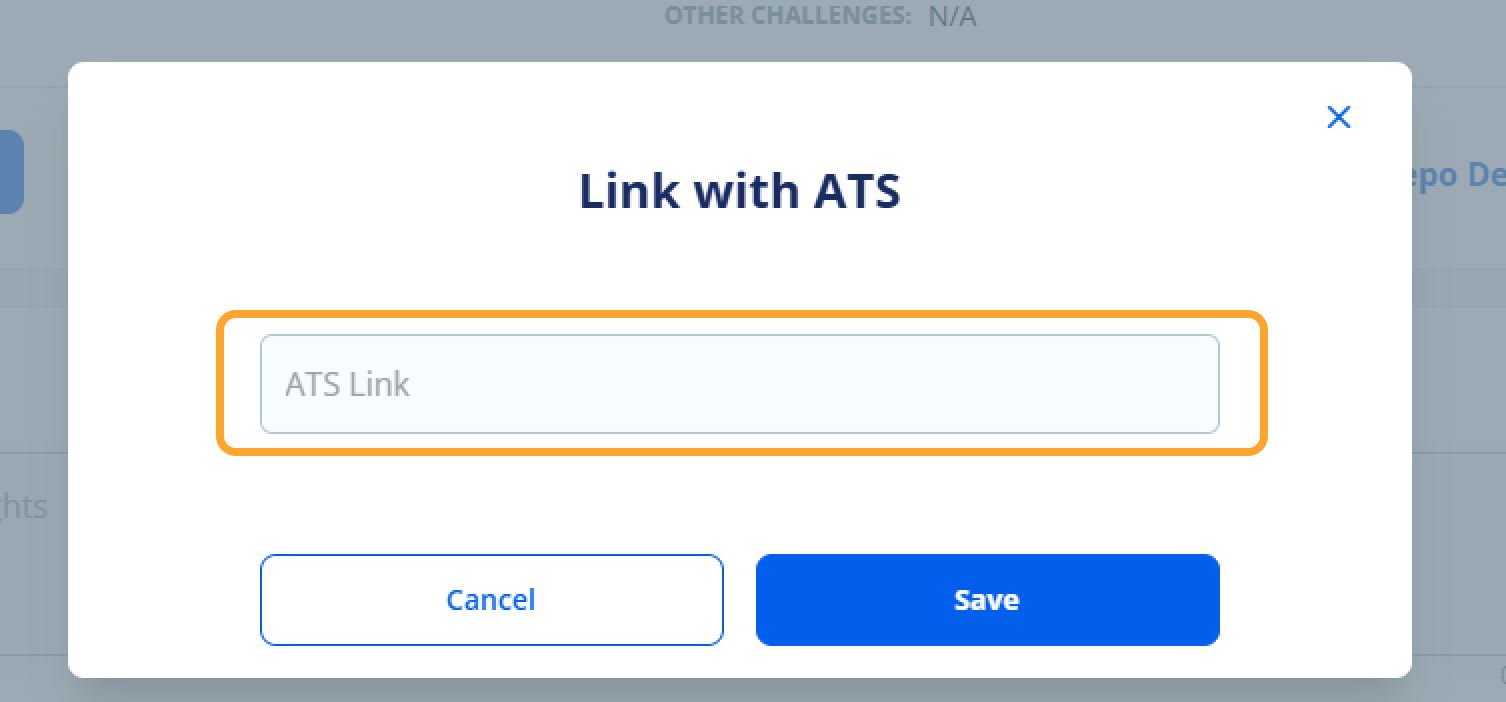
- 8
Fill out the invite form and paste the ATS link into the appropriate field.
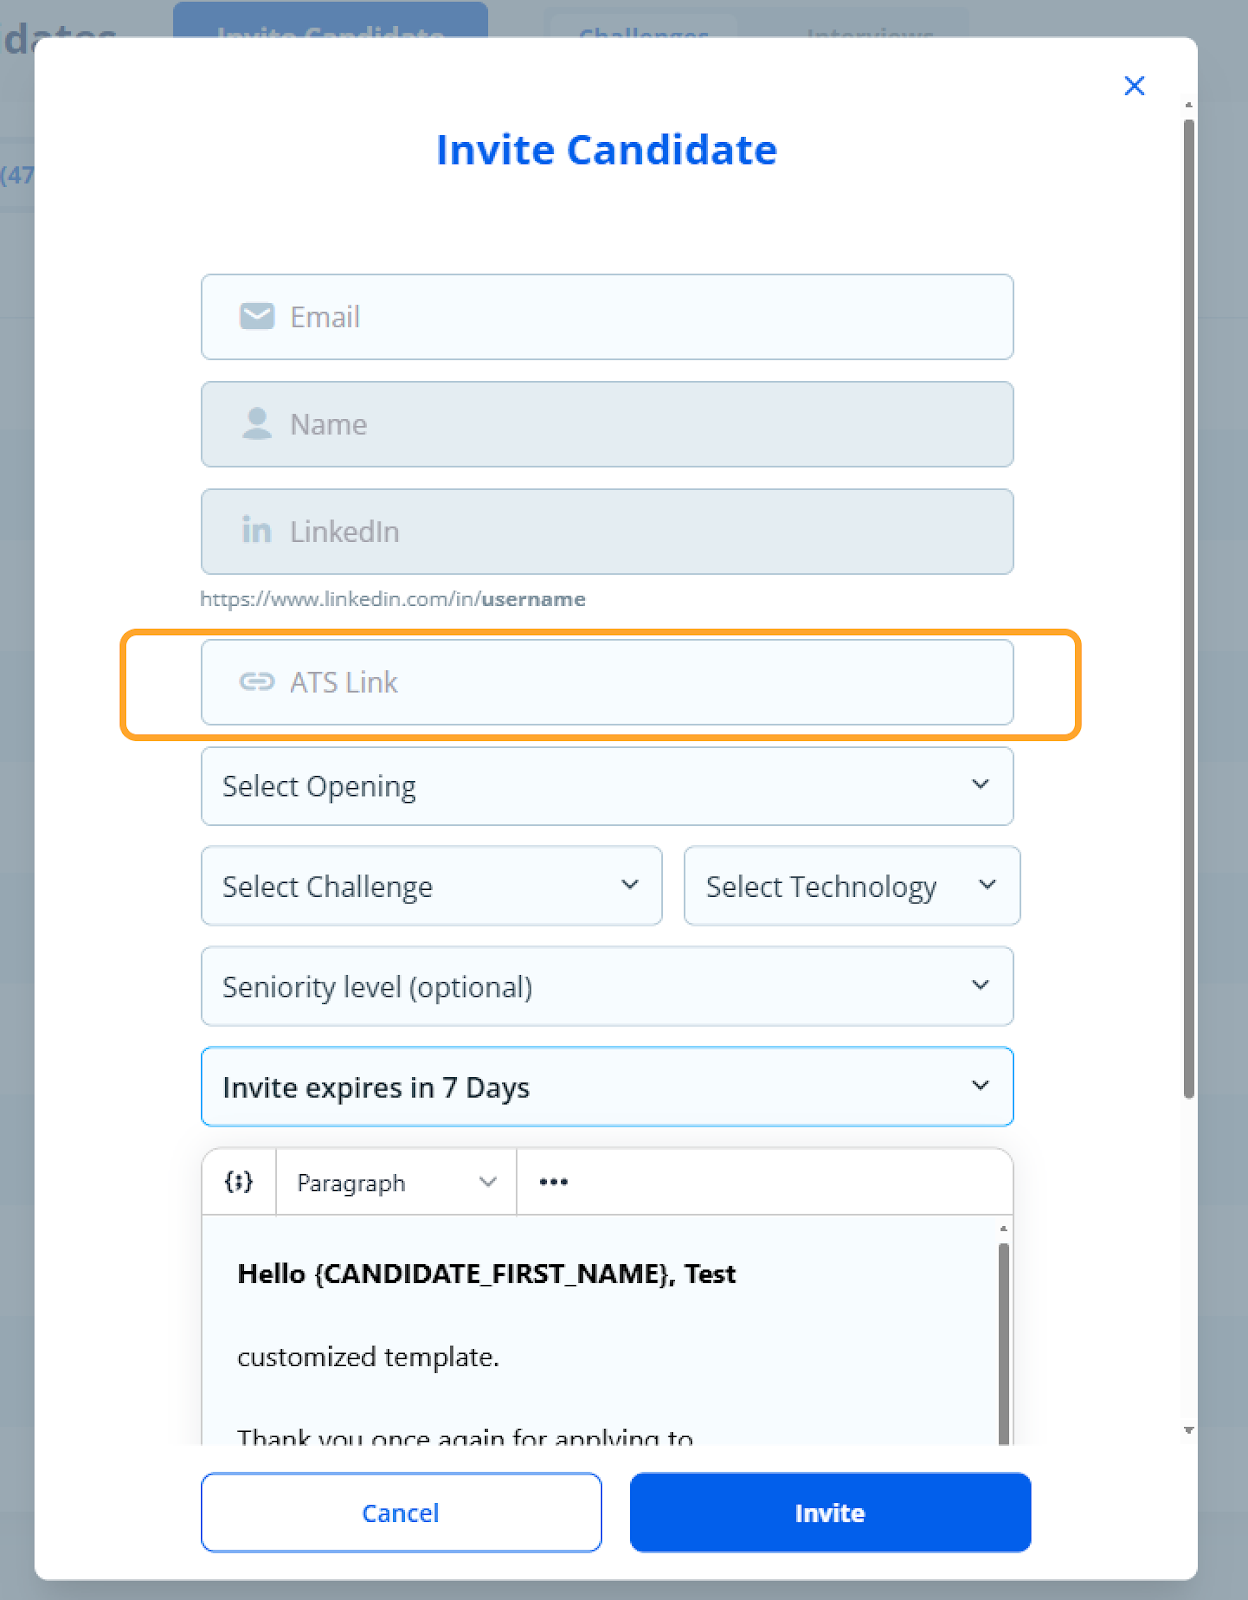
- 9
Click Invite after confirming your choices.
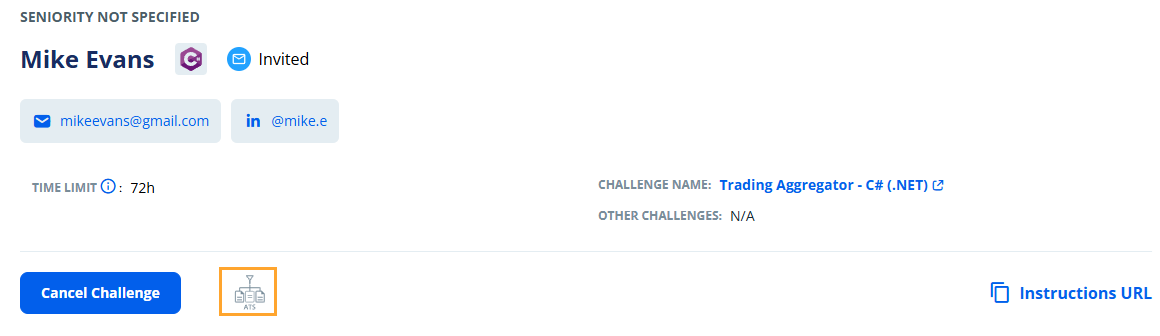
- 10
The ATS button will be active and blue. Clicking it will open the candidate URL in Greenhouse.
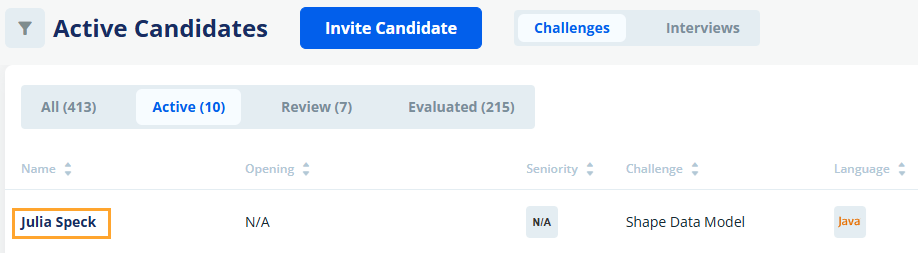
Linking Candidates — Case 2: Candidate Already in Codeaid
- 1
Log in to your Codeaid account.
- 2
From the sidebar, click Activities.
- 3
Click on the candidate's name to view their details.
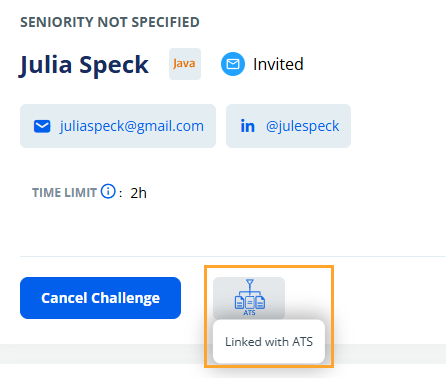
- 4
Click the ATS button, which is inactive and grey in color.
- 5
A pop-up will appear.
- 6
Paste the candidate URL.
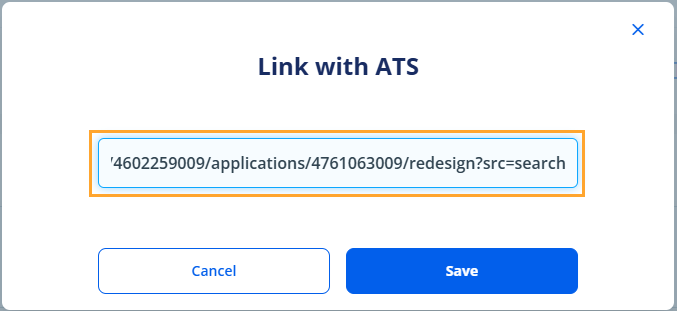
- 7
Click Save.
- 8
The candidate will be linked successfully in a few minutes and the ATS button will turn blue.

Need more help?
For additional information not covered here, reach out to our support team.
Contact Support